The Korrow Ruins stand as one of Hogwarts Legacy’s most intriguing and rewarding locations, offering players a blend of environmental puzzles, combat encounters, and valuable loot that justifies the journey. Hidden within the Scottish Highlands, these ancient ruins demand both tactical thinking and magical prowess. Whether you’re hunting for specific collectibles, leveling up your character, or simply exploring every corner of the game world, understanding what awaits at the Korrow Ruins will save you time and frustration. This guide breaks down everything from how to reach this location to the optimal approach for claiming every treasure and uncovering every secret lurking in its crumbling stones.
Table of Contents
ToggleKey Takeaways
- The Korrow Ruins in Hogwarts Legacy offer multiple gameplay rewards including puzzles, combat encounters, and valuable loot, making them essential for completionists and explorers.
- Reach level 20 minimum (ideally 25 on higher difficulties) and equip upgraded gear with protective spells like Protego before entering the Korrow Ruins to handle scaled enemy encounters.
- Master environmental puzzle types involving movable stone blocks, magical flame sequences, and mechanical locks by studying visual clues and architectural patterns rather than rushing solutions.
- Utilize spell combinations like Stupefy for crowd control and Flipendo for both puzzle-solving and tactical enemy positioning to overcome combat encounters efficiently.
- Explore thoroughly beyond the main path, test destructive spells on suspicious walls, and check vertical spaces to uncover hidden chambers, rare collectibles, and lore-related Easter eggs.
- Bring ample healing potions and avoid wasting powerful spells like Avada Kedavra on early enemies, saving them for tougher groupings deeper in the ruins.
What Are The Korrow Ruins?
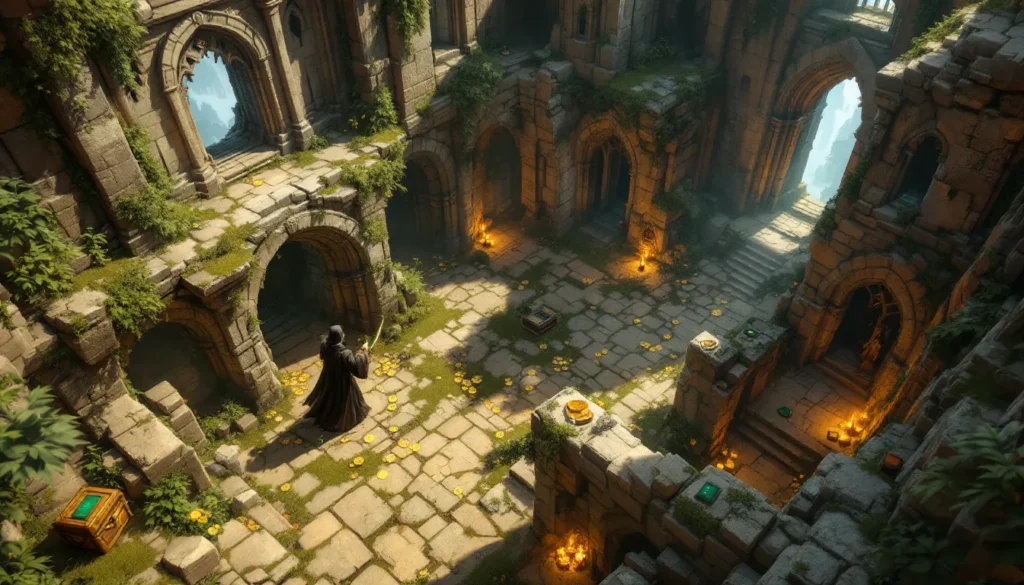
The Korrow Ruins represent a significant landmark in Hogwarts Legacy’s open world, functioning as both a exploration site and a combat arena. These ruins harken back to ancient magical history within the game’s universe, featuring crumbling stonework, overgrown vegetation, and the occasional dark magical entity. Unlike smaller collection points, the Korrow Ruins demand sustained engagement, there’s more here than just a quick pickup and move on.
The location serves multiple gameplay purposes. It’s a valuable source of Essence and Galleons, houses collectible items tied to your house progression, and contains environmental puzzles that reward problem-solving with meaningful rewards. The ruins also function as a natural combat encounter zone, populated with enemies scaled to your current level. For completionists, the Korrow Ruins tick several boxes: it appears on maps as a Point of Interest, can be cleared for house points, and yields materials useful for potion-brewing and gear upgrades.
How To Reach The Korrow Ruins
Location Overview
The Korrow Ruins are located in the southern portion of the map, nestled in the Poidsear Coast region. Getting there isn’t particularly remote compared to some endgame locations, but it’s not exactly on a main thoroughfare either. The fastest approach is to use a Floo Flame fast travel point if you’ve already discovered one in the vicinity, then proceed on foot or broom. The ruins sit at ground level, so you won’t be scaling cliffs or navigating treacherous heights, just expect some walking through wilderness terrain.
If you’re approaching fresh, look for the distinctive ruined stone structures and archways that break the landscape’s otherwise natural appearance. The entrance is clear once you’re close enough: you’ll spot immediate entrances that lead into the main chamber. The ruins sprawl outward, so take time to examine the perimeter for secondary entrances, hidden alcoves, and side chambers that often contain additional treasures.
Recommended Progression Level
Don’t enter the Korrow Ruins before you’ve hit level 20 at minimum. Most enemies here sit in the 18-22 level range, but some tougher specimens scale higher depending on your difficulty setting. If you’re playing on higher difficulties, Challenging or Dark Arts Practice, you’ll want to be closer to level 25 to comfortably handle encounters without relying heavily on healing potions.
Your gear matters as much as your level. Make sure you’re equipped with upgraded robes, a solid wand, and a reliable shield spell like Protego. If you’ve invested in any of the dark magic spells (like Crucio or Avada Kedavra), you’ll have a significant advantage against the tougher enemies here. Having Flipendo or Depulso in your spell rotation also helps for environmental manipulation and crowd control.
Puzzles And Challenges You’ll Face
Common Puzzle Types
The Korrow Ruins feature several puzzle types that rely on magical understanding and environmental awareness. The most common involves movable stone blocks that need repositioning to unlock passages or access upper areas. These puzzles require you to use Flipendo or Depulso at the right angle and sequence. The solution usually involves studying the surrounding area for visual clues, look for colored markers, aligned pathways, or architectural patterns that hint at the intended configuration.
Another frequent puzzle type involves magical flame puzzles, where you need to light torches in a specific order to deactivate barriers or open doors. These are less about combat and more about observation, you’ll typically find clues etched into nearby walls or stone tablets. Some flames require specific spells to ignite (particularly dark magic varieties), so your spell loadout matters.
A third category involves mechanical lock puzzles, where you’re searching for hidden keys, talismans, or collectible pieces scattered throughout the ruins. These aren’t failure-state puzzles, you can’t fail them, but they reward thoroughness. Take your time exploring dead-end corridors and alcoves.
Combat Encounters
Combat encounters within the Korrow Ruins are consistent but manageable with proper preparation. You’ll face a mix of Dark Wizards and Poachers, occasionally alongside Inferi or Thestrals depending on the specific chamber. The encounters rarely force you into a single tactical approach: most rooms allow for flexibility in how you engage the enemy group.
Dark Wizards are your primary threat. They cast offensive and defensive spells, forcing you to balance offense with defensive play. Use Stupefy early to incapacitate isolated targets, then transition to damage-heavy spells like Confringo or Bombarda for grouped enemies. The key is not getting caught in a situation where three or more enemies have you cornered.
Most combat encounters don’t necessitate using your most powerful spells immediately. Save your Unforgivable Curses and Ancient Magic for tougher enemy groupings or boss-level encounters. Regular Flipendo usage helps control spacing and knock enemies into environmental hazards or corners where they’re easier to manage. If you’ve been practicing your counter-spell timing, many Dark Wizard projectiles can be intercepted, reducing incoming damage significantly.
Treasures And Loot To Collect
Valuable Items And Collectibles
The Korrow Ruins house several categories of loot worth your time. The most immediately valuable are Galleon stacks, typically ranging from 100-500 per container depending on rarity. Currency here funds potion ingredients, gear upgrades, and cosmetics, so collecting every coin is worthwhile, especially in early-to-mid game.
Spell Books are scattered throughout, unlocking new spells or ability upgrades for existing ones. These are pure progression rewards, find all of them in a location and you’ve maximized your character development from that area. Look for glowing green books on tables, shelves, and pedestals.
Gear drops are encounter-dependent. Defeating enemy groups yields robes, wands, and accessories that feed your character’s power curve. The quality scales with your level and difficulty setting. If you’re hunting for a specific cosmetic variant or legendary-tier item, revisiting the ruins on higher difficulties increases your chances.
House Tokens appear in the Korrow Ruins if your current house has a presence here. Collecting these contributes to your house’s progression and unlocks house-specific rewards like common room customization items. The game flags these clearly, so they’re hard to miss if you’re looking.
One critical collectible type is Field Guide pages, which complete your in-game bestiary and grant modest experience and collectible completion rewards. These appear alongside encounters with specific enemy types, so if the bestiary shows you’re missing a page, you know what enemy to hunt.
Unlock Rewards And Progression Benefits
Clearing the Korrow Ruins completely yields tangible progression benefits beyond the immediate loot. Your house points increase substantially, which unlocks cosmetics and talent tree nodes if you haven’t maxed them yet. This is particularly valuable if you’re chasing specific aesthetic unlocks or ability improvements.
Completing the location’s challenges (defeating all enemies, solving all puzzles, collecting all chests) flags it as “cleared” on your map. This opens access to a free fast travel point if one exists here, and it signals to the game that you’re a thorough explorer, useful for achievement tracking and challenge completion.
XP gains from the Korrow Ruins support steady character progression. The combat encounters award solid experience, especially on higher difficulties. If you’re in a level range where traditional farming feels slow, dedicating time to full ruins exploration often proves more engaging and rewarding than grinding the same encounter repeatedly.
Hidden Secrets And Easter Eggs
The Korrow Ruins conceal several secrets that reward exploration beyond the obvious path. There’s a hidden chamber accessible only from a secondary entrance on the ruins’ eastern side. To reach it, you’ll need to progress through the main puzzle sequence first, the chamber itself is blocked by a magical barrier that only deactivates after you’ve lit torches in the correct sequence elsewhere. This chamber contains a rare collectible and additional loot chests.
Payattention to wall inscriptions and decorative stonework. Some of the ruins feature engraved runes or Latin-adjacent magical text that hint at puzzle solutions or hidden passages. While these aren’t interactive themselves, they often point toward which lever to pull or which statue to interact with. The developers appreciated immersive world-building, so reading the environment often pays off.
One overlooked secret involves destructible environmental objects. Several crumbling walls throughout the ruins can be destroyed using Bombarda or Depulso, revealing hidden alcoves and additional treasure. These aren’t marked on your mini-map, so methodically testing your destructive spells in suspicious-looking areas rewards patient exploration.
There’s also a nod to Hogwarts Legacy lore hidden in a specific alcove, a reference to events tied to your character’s house affiliation. If you’re chasing perfect completion, this is worth discovering, as it unlocks a small cosmetic reward and contributes to achievement progress. The location is in an out-of-the-way corner, so casual players likely miss it on their first visit.
Tips And Strategies For Success
Essential Spells And Abilities
Success at the Korrow Ruins depends heavily on your spell selection. Protego remains non-negotiable, it blocks most incoming damage and is available regardless of your house or playstyle. Learning its timing windows is essential before you arrive.
For offense, prioritize Stupefy for reliable crowd control. Stunning an enemy interrupts their casting and gives you breathing room. Pair it with Confringo for consistent damage output. If you’ve unlocked dark magic, Crucio and Avada Kedavra turn difficult encounters into straightforward wins, but using them excessively limits your magical flexibility against different enemy types.
Flipendo and Depulso are underrated. Beyond puzzles, they’re tactical tools for controlling enemy positioning. Knocking enemies into walls or off elevated platforms causes additional fall damage and interrupts their attack patterns. They’re also essential for manipulating the environment during puzzles, don’t overlook their combat value.
Expecto Patronum and other defensive abilities should round out your loadout. Healing spells like Episkey keep you alive without consuming potion charges, which you’ll want to reserve for emergencies. If you’ve progressed deep enough to unlock Ancient Magic Extraction, it provides both damage and healing opportunities, making it a cornerstone ability.
Equipment And Loadout Recommendations
Wear robes matching your preferred house (or your actual house if you value consistency). This doesn’t mechanically matter, but it feels right. More importantly, prioritize robes with defensive stats if you’re struggling with encounters. Robes that boost concentration or reduce spell cooldowns also accelerate puzzle-solving.
Your wand selection matters more than players realize. Wands carry stat bonuses that affect your spell power, casting speed, and critical hit chance. If you’ve found a legendary wand, equip it, the stat bonuses are significant. If you’re still working with common gear, upgrade to at least uncommon quality before entering.
Accessories (rings and necklaces) should focus on survivability or damage amplification depending on your preferred playstyle. If you die frequently, stack defensive bonuses. If you’re clearing encounters quickly, go for damage increases to speed up your run.
Bring healing potions, lots of them. Stock at least 10 Wiggentree Bark Potion or basic healing variants before entering. Crafting these ahead of time is faster than farming ingredients on the fly. Grab your potions from your potion wheel before each encounter, not mid-fight.
Consider your ancient magic focus items if you’ve unlocked them. These augment your Ancient Magic Extraction, making that powerful ability even more rewarding. Prioritize extracting ancient magic whenever possible, it’s a damage and healing source combined.
Common Mistakes To Avoid
Rushing through puzzles is the most common mistake. Players see a movable block and immediately start shoving it without studying the room layout or checking for clues. Spend 30 seconds observing before you cast a spell. Look for architectural symmetry, colored markers, or aligned pathways that suggest the intended solution.
Don’t waste your powerful spells early. You’ll encounter tougher enemy groupings deeper in the ruins. If you burn through your Avada Kedavra charges on the opening enemies, you’re left with basic spells for the finale. Ration your Unforgivable Curses for encounters where you’re clearly outnumbered or facing elite enemies.
Several players forget to check the vertical space. The Korrow Ruins aren’t purely horizontal, there are upper chambers, balconies, and suspended platforms. Missing these means missing chests and collectibles. Use your broom to access high areas, and remember that Accio can sometimes pull distant items down if they’re in reach.
Avoid the temptation to skip Field Guide entries. While they seem optional, completing them grants experience and feeds into your overall completion percentage. If you’re already clearing the location, grab the bestiary pages while you’re at it.
Don’t hoard your healing potions. If you’re below 50% health and see another enemy group, drink now rather than gambling that you’ll survive. The ruins respawn resources slowly, so you can refill before leaving. Survival matters more than resource conservation here.
Finally, don’t ignore side chambers and dead ends. The best loot often sits in optional areas that don’t directly progress the main puzzle chain. If a corridor seems to lead nowhere, that’s exactly where the treasure chest is hiding. Take your time and explore thoroughly, the Korrow Ruins reward patient, methodical players.
Conclusion
The Korrow Ruins represent a well-designed blend of exploration, puzzle-solving, and combat that exemplifies what makes Hogwarts Legacy’s exploration worthwhile. Success here requires adequate leveling, thoughtful spell selection, and most importantly, patience with environmental puzzles and enemy encounters. Don’t rush through the location expecting a quick clear, give yourself time to absorb the atmosphere, test destructive spells on suspicious walls, and read the environmental storytelling scattered throughout.
Your rewards for thorough exploration extend beyond currency and gear. Completing the Korrow Ruins fully feeds your house progression, expands your character’s magical arsenal through spell books and ability upgrades, and unlocks secrets that enrich your understanding of Hogwarts Legacy’s lore. The time invested here pays dividends for your character’s long-term power progression and your sense of world mastery.
With proper preparation, adequate leveling, a balanced spell loadout, and sufficient potions, the Korrow Ruins transition from intimidating to manageable. Approach them methodically, respect the difficulty, and you’ll leave with full pockets and a satisfied checkmark on your exploration checklist. The ruins are waiting, and they’re worth the journey.